Friday, December 30, 2011

a culinary history lesson- rice

Rice is a southern staple. Down south, nine times out of ten you will find rice and gravy on the menu instead of mashed potatoes and gravy. I love rice. No, seriously. I do. I eat rice probably 3-4 times per week. Not only is it awesome as a side but its also an important ingredient in many southern dishes.

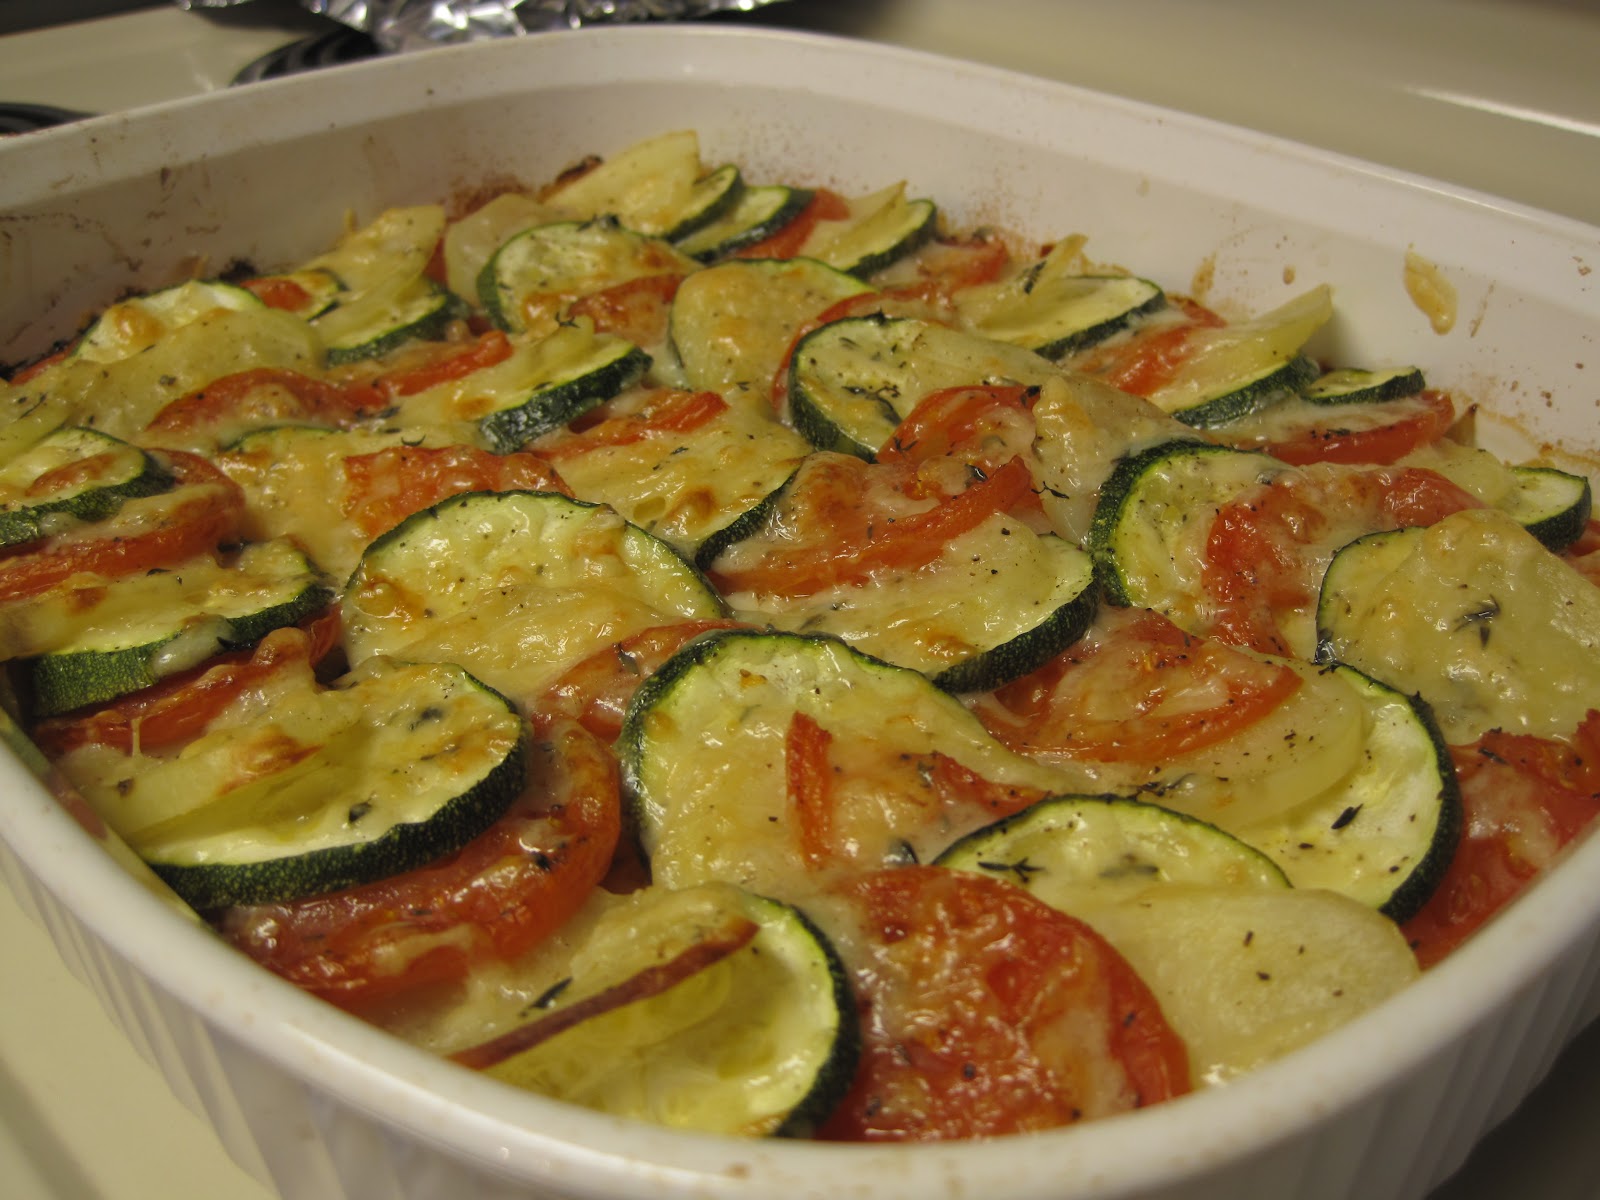
Rice is truly important to Southern cuisine, and I believe that calls for a brief history lesson.

Rice was introduced to America in 1685 as a gift from a ship Captain sailing from Madagascar. The Captain's ship was badly damaged by storms, and the colonists of Charles Towne (now Charleston, SC) were kind enough to help out with the repairs. As a thank you the Captain gave the colonists some "Golden Seede Rice." That same rice is known today as Carolina Gold Rice and is grown at very few plantations, making it highly sought after.
The marshes and rivers of South Carolina turned out to be a perfect location for rice production. Slaves from West Africa and Coastal Sierra Leone were the most highly sought due to their knowledge of rice production. The slaves taught plantation owners how to dyke the marshes and flood the fields, and mill and winnow the rice. If you've ever been to Charleston you have seen women on the street corners weaving beautiful sweetgrass baskets. Sweetgrass baskets were originally used for winnowing (separating the grain from its hull). Rice is credited to starting the plantation era in the South.
Rice harvesting is all done by hand due to the wetlands that it is grown in (tractors would get bogged down in the marsh), and at the height of its production was all done by slaves. After the Civil War rice production in South Carolina drastically declined due to the loss of slave labor. Today rice is primarily grown along the Mississippi River and in California.

Now that you have been learned I will share with you the secret to perfectly fluffy rice every single time..
How to make perfect fluffy white rice:

1 cup of long grain white rice
1 & 3/4 cups of water
1 tbsp butter
kosher salt

Start by rinsing your rice in a fine mesh strainer. Run it under cold water until the water coming from the bottom of the strainer runs clear. The rinsing removes loose starch from the outside of the grain. That excess starch is what makes rice sticky instead of fluffy. Allow the rice to drain thoroughly.

In a medium, heavy bottomed pot with a tight fitting lid combine the rinsed and drained rice, water, butter and salt. This is really important. You MUST use a pot with a really tight fitting lid with no steam hole in the top.

If you have an electric stove you will need to use two burners. One set to high, and the other set between medium and low. Bring the pot to a boil on the high burner. As soon as the water is boiling, cover the pot and slide the pot over to the low burner. Cook at a gentle simmer until the water is completely absorbed, right at about 12 minutes. If you are using a gas stove you can just lower the heat under the pot to medium low once the water starts to boil, no need to switch burners.

Remove the pot from the heat and let it sit undisturbed with the lid on for at least 5 minutes. DO NOT LIFT THE LID!! Letting the rice to sit off of the heat allows the moisture in the rice to redistribute itself creating a more uniform texture.

When you are ready to serve, fluff the rice with the fork to separate the grains.

Like I said, rice is a southern staple. Expect a lot more rice recipes in the future.

Monday, December 26, 2011

Christmas 2011

After such a successful Thanksgiving dinner I was really motivated to try a Christmas meal too. My intention was to pick a very small menu of dishes I've been wanting to try for awhile. But I ended up picking three dishes that all cooked at different temperatures, making it difficult to get everything cooked and coming out of the oven at the same time. But all ended well and dinner turned out fabulous.

The Christmas Dinner Menu:
Iceberg Wedge Salad with Homemade Ranch
Caesar Crusted Beef Tenderloin
Vegetable Tian
Cheesy Corn Spoonbread

Here are some pictures.. recipes to follow soon.


Friday, December 23, 2011

a christmas tradition

Every year my family does "cookie day." And every year its the same story. We wake up early, put on the christmas movies and set out to make a ton of cookies... and an hour later I'm all alone in the kitchen making cookies by myself.

We pick out a bunch of cookies that we want to make, but the one cookie that is a must every year are my mom's favorite Coconut Thumbprints. They're a really buttery, slightly salty cookie cookie rolled in coconut and topped with jam. The recipe came out of one of those promotional recipe booklets for Crisco and I've adapted it a little over the years. Here's how we make them:

Coconut Thumbprints
Recipe says it makes 24, I can usually get 18

1/2 cup Butter Flavor Crisco
1/2 cup sugar
1 egg, separated
1 tsp vanilla
3/4 cup unsifted all-purpose flour
1/4 tsp salt
1/4 tsp baking powder
Angel flake coconut
thick preserves, jam or jelly (we do apricot and raspberry every year)

Preheat oven to 375. Line baking sheets with parchment.


Cream butter crisco, sugar, yolk, and vanilla in a large bowl at medium speed of electric mixer. Combine flour with salt and baking powder. Add to creamed mixture. Blend well.


Form into balls about 1 inch in diameter. Beat egg white until slightly frothy. Dip dough balls into egg white, then roll into the coconut. Place on baking sheets.

Make a shallow depression in center of each cookie using back of small spoon. (I used a 1/8 tsp measuring spoon) Place about 1/8-1/4 tsp preserves in the center.

Bake at 375 for 8-9 minutes or until coconut begins to brown. Cool on baking sheets for about 2 minutes. Remove to cooling racks.


Tuesday, December 13, 2011

a family favorite

Everyday I scour the internet for new food ideas, and there are several blogs that I frequent. I love to visit the blog The Galley Gourmet. One day while surfing the web I came across a recipe for coconut cream pie. I've told you before about how my family goes to the Picadilly every Sunday for supper after church. Well, along with the fried chicken, my grandmother HAD to have coconut cream pie. If for some reason they were out of pie or just didn't have any that Sunday we'd never hear the end of it. So ever since the Picadilly in Columbia went out of business back in August my grandmother has been without her favorite pie. When I saw the blog post for coconut cream pie on The Galley Gourmet I knew I had to make it. I made it for Thanksgiving supper and it was a huge hit. Heres how to make it:
Coconut Cream Pie
Pin It
one 9 inch pie crust, baked and cooled

For the filling:
1 cup granulated sugar
1/2 cup cornstarch
1 1/2 teaspoons powdered gelatin
1/2 teaspoon kosher salt
1 cup coconut milk
3 extra large egg yolks, lightly beaten
1 cups whole milk
1 teaspoon pure vanilla extract
1/8 teaspoon coconut extract
1 1/2 cups sweetened shredded coconut, chopped

For the topping:

1/2 teaspoon powdered gelatin
1 Tablespoon cold water
1 1/2 cups heavy cream
2 Tablespoons granulated sugar
1/2 teaspoon coconut extract

For the Filling

In a large bowl, combine the sugar, cornstarch, gelatin, and salt.  Add the coconut milk and yolks and whisk thoroughly to combine.  In a medium saucepan over medium heat, heat the whole milk until small bubbles appear around the edges. Slowly pour the hot milk into the egg yolk mixture, whisking constantly.  Pour the entire mixture back into the saucepan and cook, stirring constantly over medium heat until very thick, about 3 minutes.  Remove from the heat and stir in the extracts and coconut.  Allow the mixture to cool completely in an ice bath, stirring frequently.  Use when cooled or store in an airtight container in the refrigerator overnight.
At this stage I was starting to get worried because the filling was still pretty runny, but after hanging out in the fridge all night it tightened up alot.
For the Topping
*The gelatin in the topping stabilizes the cream and it sets rather quickly.  Therefore, have the pie filled and cooled before making the topping.

In a small bowl, sprinkle the gelatin over the water.  Heat the mixture in the microwave for a few seconds until the gelatin has melted.  In the bowl of a stand mixer fitted with the whisk (or in a bowl using a hand held mixer or by hand with a wire whisk), beat the cream and sugar on medium high until soft peaks form.  Drizzle in the gelatin mixture and the extract and beat until firm, but not stiff, peaks form.  Spread the whipped cream mixture over the coconut custard and refrigerate the pie until ready to serve.
-Recipe from The Galley Gourmet
I toasted some coconut flakes to garnish my pie. Its super easy just take some of the leftover sweetened coconut flakes and put them in a dry skillet over medium heat and toast, shaking the pan about every 10 seconds. Do not walk away from the stove, it will burn in a hot minute. 

Side Note- The past month has been craaaazzzy. I have moved back to South Carolina, and between unpacking and adjusting to living with my parents again there hasn't been much time for cooking and writing. But I'm back and I have lots of recipes that I want to try out, so stay tuned. 

Tuesday, November 29, 2011

Thanksgiving 2011

I'm a little late to be posting about Thanksgiving, but I still wanted to tell everyone what I made. This was the first year that I'd cooked a whole holiday meal. My plan was to keep it simple and small, but still keep all the family favorites. I wanted to pick dishes that I could prep or make the day ahead so that I wasn't glued to the stove all morning. The menu was:

Blue Cheese and Caramelized Onion Crostini
Red Pepper Cream Cheese with Crackers
Homemade Ranch Dip with Crudite
Tossed Salad with Homemade Ranch
Brown Sugar and Honey Glazed Ham
Sweet Potato Crunch Casserole
Macaroni and Cheese
Southern Green Beans
Creme Brulee

This may seem a little all over the board, but one of my family's traditions for holiday meals is that we make what we really want to eat. My sister and I were not big on typical holiday fare when we were little and my mom got tired of cooking stuff that was not going to get eaten. I remember one Christmas the meal consisted of tacos and all the fixings for me and fried chicken and mac & cheese for my sister. So this year I took everyone's requests and threw in a few of my own ideas, and this is what I came up with.

Here are some pictures, and I will post the recipes over the next couple of days. These recipes would be great for any holiday meal, not just Thanksgiving, or special occasion.


Not the prettiest presentation, but this is the easiest munchie to set out to keep your holiday crowd at bay until the meal is ready. Just a block of cream cheese and a jar of pepper jelly. You could use both red and green pepper jelly to get a little more Christmas-y. Serve with crackers!
I know this looks a little silly, but half of my family does not eat nuts and the other half does, and I am a very accommodating cook :)


I've got to work on my food photography! I envy all of the other food blogs I read with their almost professional looking food portraits. Any tips??

Tuesday, November 1, 2011

cupcake of the month- pumpkin spice

So, I'm a day late posting this, but, I've decided to start doing a cupcake of the month. Cupcakes are super trendy right now, so I figured why not join the craze. And for the month of October, I wanted to keep with my pumpkin obsession and do a pumpkin cupcake. I chose a recipe from Cook's Illustrated to try, and I was really pleased with the results.
Pin It

Pumpkin Spice Cupcakes with Vanilla Buttercream
Makes 24

1 tbsp cinnamon
3/4 tsp ground cardamom
1/2 tsp ground allspice
1/2 tsp ground cloves
1/4 tsp ground nutmeg
1/2 tsp ground ginger
16 tbsp (2 sticks) butter, softened
2 & 1/4 cup all purpose flour
1/2 tsp baking powder
1/2 tsp baking soda
1/2 tsp salt
2 large eggs, at room temp
3 large egg yolks, at room temp
1 tsp vanilla
1 3/4 cup granulated sugar
1 cup pumpkin puree
2 tbsp. light molasses
1 cup buttermilk, at room temp
Combine spices in a small bowl.
grating whole nutmeg
Heat 4 tablespoons of the butter in a small skillet over medium heat until melted, 1-2 minutes.
Continue to cook, swirling pan constantly, until butter is light brown and has a faint nutty aroma, 2-4 minutes.
Add spices and continue to cook, stirring constantly, 15 seconds. Remove from heat and cool to room temp, about 30 minutes.
Preheat the oven to 350. Line two 12 cup muffin pans with cupcake papers.

Whisk flour, baking powder and soda, and salt in medium bowl. In small bowl, gently whisk eggs, yolks, and vanilla to combine. In the bowl of a standing mixer fitted with the paddle attachment, cream the rest of the butter with the sugar at medium high speed, about 3 minutes. Scrape down the sides twice while beating.
 Add the pumpkin and the molasses and beat until incorporated. Scrape down the sides.
Reduce the speed to medium and add the cooled butter and spice mixture and half of the egg mixture, about 15 seconds. Repeat with the remaining egg, and then scrape the sides again.

Reduce to low speed and add one third of the flour mixture, followed by half of the buttermilk, mixing until just incorporated after each addition, about 10 seconds. Repeat with another third of the flour and the rest of the buttermilk. Scrape the bowl and add the remaining flour mixture, mix at medium speed until batter is thoroughly combined, about 20 seconds. Remove bowl from mixer and fold batter once or twice with rubber spatula to incorporate any remaining flour.
Divide the batter evenly among the cupcake tins, about 2/3 full. Bake in oven for about 20 to 22 minutes, turning the pans once, halfway through. Test the cupcakes with a toothpick for doneness. Remove from oven and cool completely before you start frosting.

Vanilla Bean Buttercream

2&1/2 sticks of butter, room temp
1 vanilla bean or 1 tsp of vanilla paste
2&1/2 cups confectioners sugar
pinch salt
2 tbsp heavy whipping cream

In standing mixer fitted with the whisk attachment, beat the butter at medium high speed until smooth, about 20 seconds. Add the vanilla and beat to combine, about 15 seconds. If you are using a vanilla beans cut it in half lengthwise and scrape out the seeds.
Add the sugar and salt, beat at medium low until the sugar is mostly incorporated, about 1 minute. Scrape down the bowl and beat at medium speed until mixture is fully incorporated, about 30 seconds. Scrape the bowl and add heavy cream, beat at medium speed until incorporated, about 20 seconds. Increase the speed to medium high and beat until light and fluffy, about 4 minutes, scraping down bowl once or twice.

Using a large round tip with a pastry bag, pipe the frosting onto the cupcakes.


These cupcakes made my kitchen smell incredible. They tasted pretty fantastic too.

Tuesday, October 25, 2011

company's comin'

Casserole- "cass-a-roll" in the south it is typically a baked mixture of meat, chopped vegetables, and a starch, mixed with mayonnaise, sour cream, or both and a cream-of-something soup, and topped with crackers, bread crumbs, corn flakes, nuts and/or potato chips in a dish

My mother has been making this casserole for as long as I can remember. She got the recipe from a neighbor, who probably got the recipe from a Campbell's soup can or one of those pamphlets you get at the grocery store during the holidays. Like the name says she makes it when we are having company and for holiday dinners. Its also a great dish to take to potlucks and get-togethers.


Company's Coming
1 can French Style Green Beans, drained
1 can white shoe peg corn, drained
1/2 cup chopped celery
1/2 cup chopped onion
1/2 cup sour cream
1/2 cup shredded sharp cheddar cheese
2 oz chopped pimento
1 can cream of celery soup
1 tsp salt
1/2 tsp pepper

1 cup Ritz cracker crumbs
1/2 stick melted butter
1/2 cup slivered almonds
Combine all of the ingredients from the green beans to the black pepper. 
Usually I would pour everything into a 9x13 casserole dish, but since its just me and future hubby I split it into 2 dishes and freeze one.
Combine the butter and crackers and cover the top of the casserole with the mixture, and then sprinkle with the almonds.
Bake at 350 degrees for 45 minutes.